Day Four :: Get Your Home Decluttered in 28 Days
Our paper clutter is finally off our counters! YAY!
Okay, we have tackled the front entryway outside and inside, and our laundry room. But you can take your time and take more than a day or two (or week) to tackle each room. You know what needs to get done in your house so take your time – we are just making suggestions. But summertime is the perfect time to take advantage of the nice weather and get things in your home the way you have visualized (for me it has been months and months!). Especially if the kids are in school (mine went back early) or are in summer camps – this can help free up some of your time. If you work outside the home or have young children not yet in school – ask a friend or relative to take them for a few hours so you can tackle each project step by step. It isn’t a race – just a chance to declutter and decorate on a budget on your timeline.
Next up…. is our kitchen! We will tackle the countertops and walls, and leave the cabinets for another day.

After my friends helped me reorganize my living room – I was inspired to get my kitchen in shape. Though we have a small space it doesn’t mean we can’t organize it and have it be efficient! This has been a slow process but one thing I realized after looking at pictures of kitchens on Pinterest or even at friends homes whose kitchens I liked – is they all had one thing in common – minimal things on the counters! I didn’t realize this until I saw a pattern with the kitchens I loved. I would take some time and look through images on Pinterest (just type in Kitchen Décor or if there is a style you like such as Country Style Kitchens or Modern Kitchens – this is a good place to start! I found the kitchens I liked best were more simple and modern with pops of color. After receiving this adorable polka dot serving tray and utensils from a friend, it inspired to change up our kitchen with these colors and shapes. So, take your time and after looking through magazines, décor books and/or Pinterest think about what you would like to see happen with your kitchen – and let’s begin!
Step One: De-clutter. This is probably the most consuming and will take a couple hours to accomplish. Or maybe not! The biggest challenge I had was getting our paperwork off the countertops. For years, my kitchen counter has been a hedgepog of paperwork – you know, bills, schoolwork, notes, etc. It wasn’t until I was motivated to de-clutter and organize my house that I no longer have this paperwork there. Granted, we will work on organizing paperwork on another day, but for now, get some files together and start labeling them: Bills to Pay, School Work, Important Papers, and a To Be Filed which can include all non-important items that can be filed on another day. The main things would be your bills and school related papers. Keep these at the top of the pile. I moved my paperwork into a large basket and placed the important files on top so we don’t lose track of them and the bills get paid on time! But if you already have this filing system in place – great! If not, use a basket, or inexpensive filing box.

Look for a container that could be a catch all for the family – whether it be a basket, wooden tray or maybe something you already have. I love this Babell Serving Tray that my girlfriend has in her kitchen that she uses to place their keys on. By having one place for things – at least it keeps it off the rest of the counter! Again, we are only working on the countertops and outside of the kitchen – we will get to the inside cabinets another time.
Step Two: De-clutter Some More. Put anything away any knickknacks that aren’t used daily or could be placed in a cabinet. I find that if we have more counter space in which to cook, it helps to make the process go that much easier. Plus, it looks much better! So take off things that you don’t use everyday. We stored our coffee grinder in a cabinet, and put away our bread and other snacks inside our Bread Container. I like having this container as we don’t have a ton of storage space. If you have a larger kitchen – great – you will have more space to work with. However, if you are limited to a smaller space – the more you can put away the better.

Step Three: Clean Up! Give the counters a good scrub, clean your sink so it shines (here is a great post using just lemons and hot water), and scrub your cabinets and appliances. I found these products to be the best to give my kitchen a good shine – but whatever products you like best, get them out and give the kitchen some TLC. Don’t forget to do the side and on top of the fridge and the outside of the stove, dishwasher, and microwave if you have one. Awww. Now we are ready for the fun stuff.

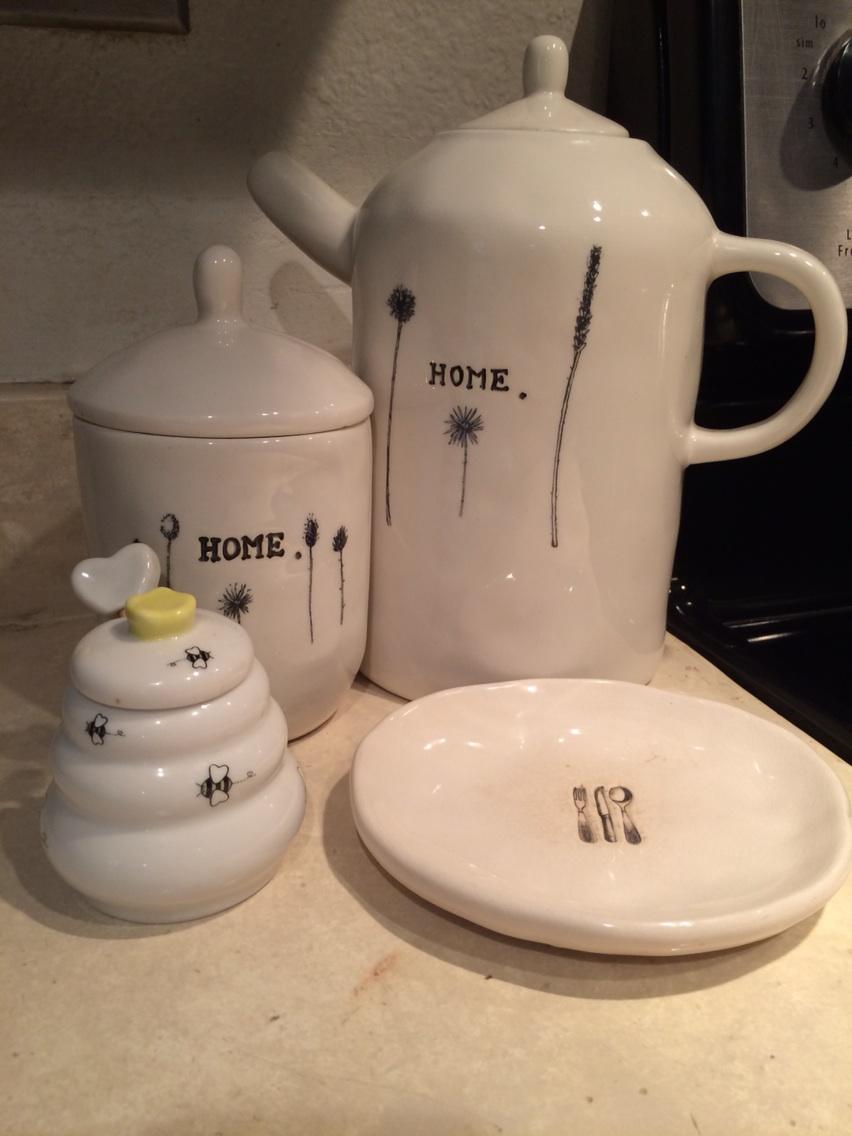
Step Four: Add Some Fun. I think the kitchen is a great place to express what you love. Anything from teapots to a vase of flowers – once your space is free of messy paperwork, knickknacks, etc., you can add back some interesting and favorite things. I love this coffee set from Rae Dunn and it makes me happy to see it on our counter, plus I got the whole set (including four coffee mugs) for a real bargain at Marshalls (I swear they didn’t sponsor this series – just have found so many great items there!). You don’t need to break the bank with these additions – look around and see what draws your eye. Or maybe you have a nice set hidden in your cabinet. Why not get it out on your “new” kitchen counter top and give it some love!

Put your fruit in a colorful container. We got this one at Target and use it a ton for parties. I loved it so much it stores our fruit. I believe it cost less than $10 – so be creative. Head over to Target or look online at some containers and see what you want to house your fruit in. I love the wire baskets for a more country style kitchen.

Also, look for some colorful cooking utensils. A girlfriend gave me this Melamine polka dot set (made by French Bull) and serving tray and I absolutely love them. Why not showcase your colorful cooking utensils – you could probably find some fun ones at your local discounted retail shop. This adds a pop of color.
And don’t stop there – look for a colorful vase and put some flowers from your garden in them. This is your space that you visit daily so make it a nice place to visit!

Or how about some new kitchen towels and/or heating pads? When was the last time you got some new and fresh ones? If it has been awhile (it had been for us) it might be time! You can find some inexpensive ones at Marshalls. These little things do help bring a smile to your face – I especially love our new owl pads.

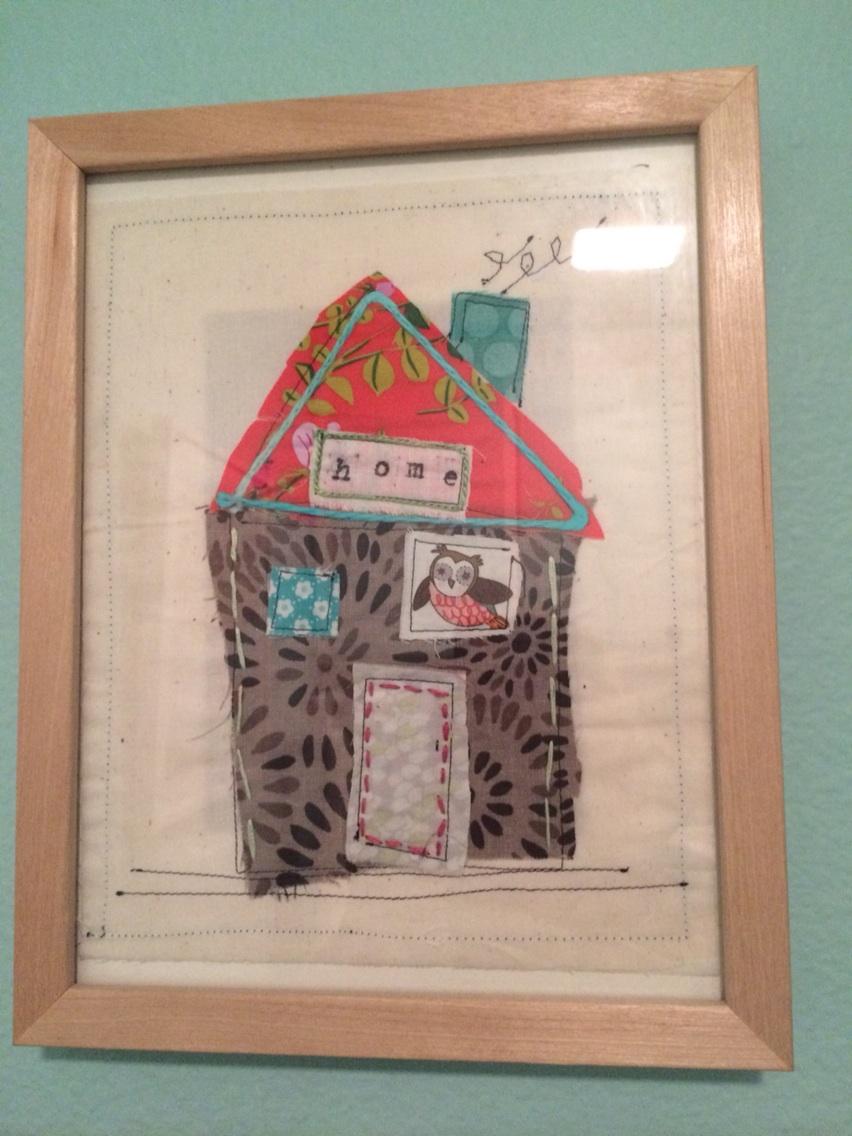
Step Five: Add Some Art. Yes, artwork in the kitchen is so unexpected isn’t it? A girlfriend of mine has a more modern kitchen and she got some great prints online from Etsy. Just type in mid-century prints – she said she paid less than $15 for some really great prints. IKEA has very inexpensive frames and this is a great way to add some fun in the kitchen. Or you could frame your children’s artwork! We opted to put my absolute favorite piece from artist Jennifer Mercede of this gorgeous giraffe. He is just so fun and fits with the vibe I want for our kitchen and dining area. Look at local estate or garage sales for artwork. Most of the art in our house is either by up and coming artists or purchased on a dime at estate sales. Support your local artists and attend local art fairs and college art events. This way you are supporting working artists and usually are able to get work you like fairly inexpensively.

Organize your photo’s on a Cork Board. We put little quotes and notes my daughter has made us over the year. Put up your favorites pictures of the family in an area you can all enjoy. We probably look at this board no less than 5 times a day while in the kitchen grabbing a drink or snack. I like having this personal touch and there are so many design options. Check out one fun DIY project here.
Step Six: Make a Wish List. This is a list of things you would like to see happen in your kitchen. For example, we need to get our concrete countertops redone and luckily I found a contractor who will do it for next-to-nothing. The thing about concerte countertops – especially if you live in California – is that it can crack when you have an earthquake. Maybe you need to get your tile grout redone. This is a fairly inexpensive job and one that you might be able to do yourself! But make a list of things that need to get done and put it aside so when your budget allows or if when you have the time, you can check it off, task by task!
Now enjoy your new kitchen!
Take it a step further:
Paint it a new color! I have been debating for years – yes, years if we should go for a tile backsplash or just paint it a great color. On the fence still, but paint is not very expensive and you can Google a YouTube video on how best to paint your kitchen. It would probably take an afternoon and boy wouldn’t it be great to have a fresh paint job?! That is on our To-Do List!

Paint Your Pantry Door with chalk paint. We did this when we did the one in the laundry room and really love it. We write notes to each other and change it up with each season. A really fun addition for a low cost. Check here for the different color options available.
Put up a favorite bag or basket for your mail. One of the solutions we found for incoming mail is to put it in this bag until we have time to go through it. That way, it stays off the countertops and is stored away. The hook is from IKEA and a friend gave me this felt bag. There are a ton of felt bags available on Etsy so check it out!
Add a rug: A colorful rug in the kitchen is always a nice addition.
Purchase a colorful toaster like this Bella one for less than $25! I am debating between the teal and green – what color do you like?
Change up the outlet covers. I realized while doing this that we have some mix-matched ones. Think it is time to get some new ones at Lowes!
What does your dream kitchen look like?
0
Melissa
Melissa Northway, M.S. is a mom, founder of dandelion moms, and a children’s book author. Her award-winning book Penelope the Purple Pirate was inspired by her little tomboy. Penelope is a modern-day Pippi Longstocking who teaches girls and boys the importance of having fun while at the same time teaching them to be kind and respectful of others and their differences. Dandelion moms was created for moms to share their stories and to inspire and be inspired! You can reach Melissa at: info@dandelionmoms.com and follow her @melissanorthway and @dandelionmoms. Check out her author web site at: www.melissanorthway.com, as she hands out loads of goodies from the treasure chest.


5 Comments
Nancy Barth
Freedom Filer and really helped me with filing certain kinds of papers (resumes, credentials, insurance policies, college transcripts, and so much more). http://www.freedomfiler.com/Home.cfm
I also like the Portavault for really important papers (social security cards, birth certificates, car title, bank account info, current tax return, cash, etc). When you need to evacuate your premises (a big possibility in SoCal with earthquakes and wildfires) it’s handy to have that all in one portable binder with a strap for easy carrying. http://securitaonline.com/
But, please, don’t EVER look at my desk…it suffers from ‘flat surface disease’—if there’s a flat surface, I fill it!
Melissa
Gosh, I have the same disease – flat surface disease! I have been trying to get this paper clutter under control but it does seem to be my biggest challenge! Thanks for the suggestions Nancy!
Nancy Barth
The green toaster seems more ‘you’ but the teal would go well with your pantry door. I have a red toaster and love it!
Melissa
I still need to order that toaster! Might have to do it today Nancy =)
Marie
Oh Melissa ! I’m going gaga for your Rae Dunn home sugar and teapot ! if you ever decide to part from them I am here with arms wife open 🙂