Crafts :: Super Cute DIY Flower Box
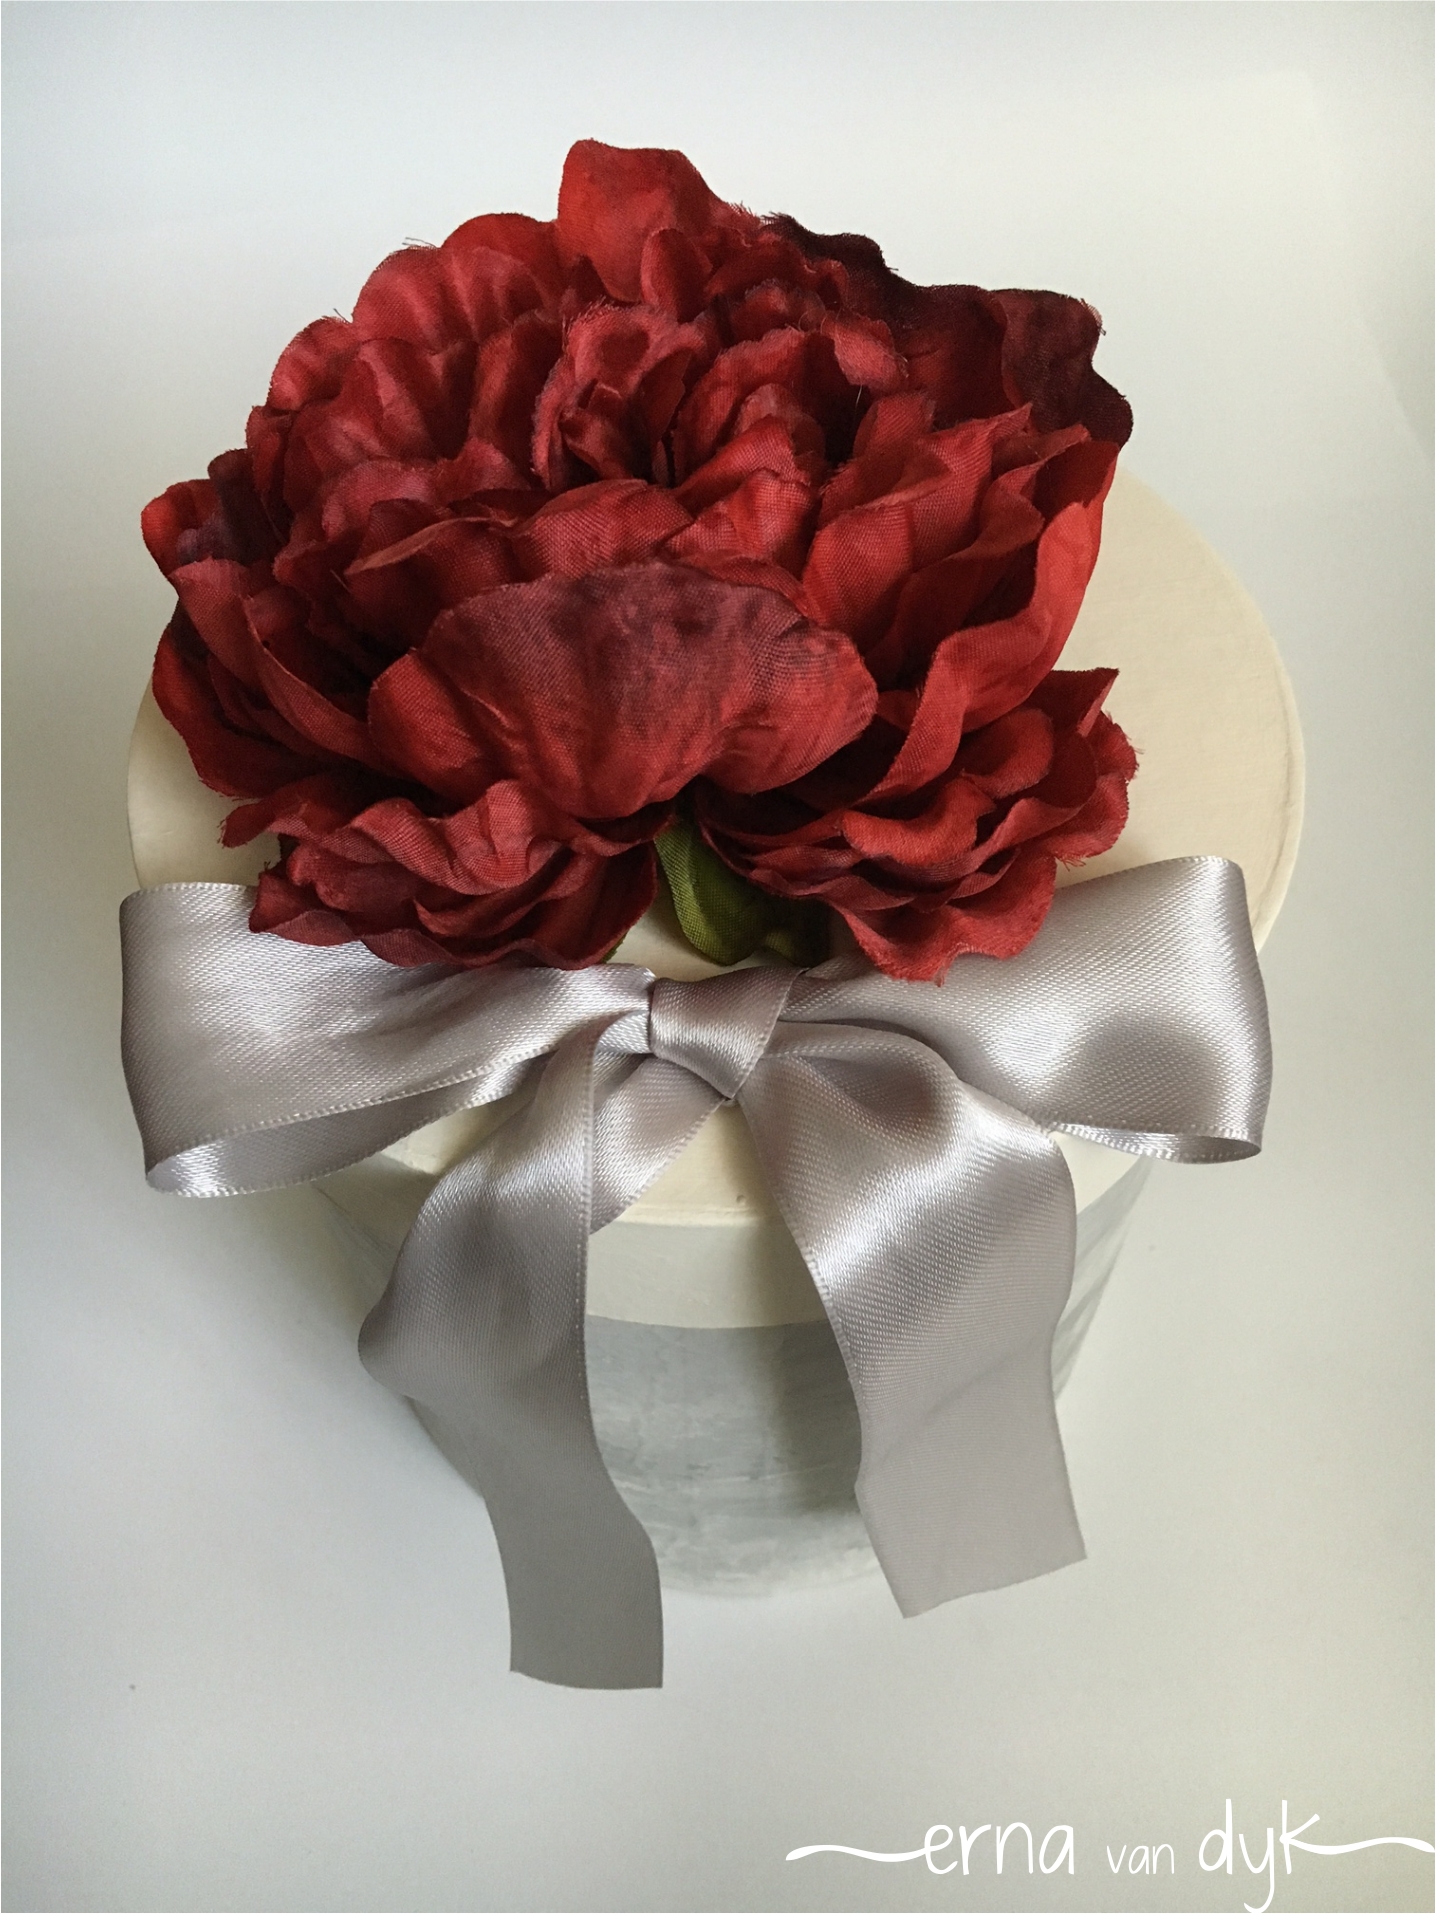
I love to give handmade gifts and if I end up buying gifts then the wrapping should have a handmade touch. I will show you how I transformed this ordinary papermache box found at Michaels into a super cute box, pretty enough that you will want to keep it.
Materials needed:
- a box of your size and liking
- some silk or paper flowers and ribbon
- hot glue gun and scissors
- acrylic paint
- old cookie sheet or similar flat service (i don’t use my cookie sheet in the kitchen anymore)
I had my box and an assortment of flowers to choose from:

This was my lid. I wanted a flower that could fit on the top of the lid. The big red one did the trick. I cut the stem as close as I could so it could fit on the lid.


I wanted the red flower to pop so I decided on natural colors for the box. I used ivory and light grey acrylic craft paint. You definitely want two colors. Pour them on your cookie sheet and use the back or your brush or a kebab stick to create a criss-cross pattern. Do not over-mix. You still want to see the different colors.


Genlty roll box over paint without going over twice. Lifting it up and roll it again when you reach the end. Until you have paint around the whole box.

Just once so you can see the pattern in the different colors. Set it aside to dry. It may take awhile.

I decided on the ivory paint color for the lid.

I found a nice grey ribbon in my stash of ribbons that compliments my color to add to the red flower.

I glued everything down with the hot glue gun and added my present inside.

Now you are ready to give it out to someone special!

0

